With enthusiasm, let’s navigate through the intriguing topic related to Let’s Sculpt with Air-Dry Clay: A Journey into 3D Art!. Let’s weave interesting information and offer fresh perspectives to the readers.
Introduction
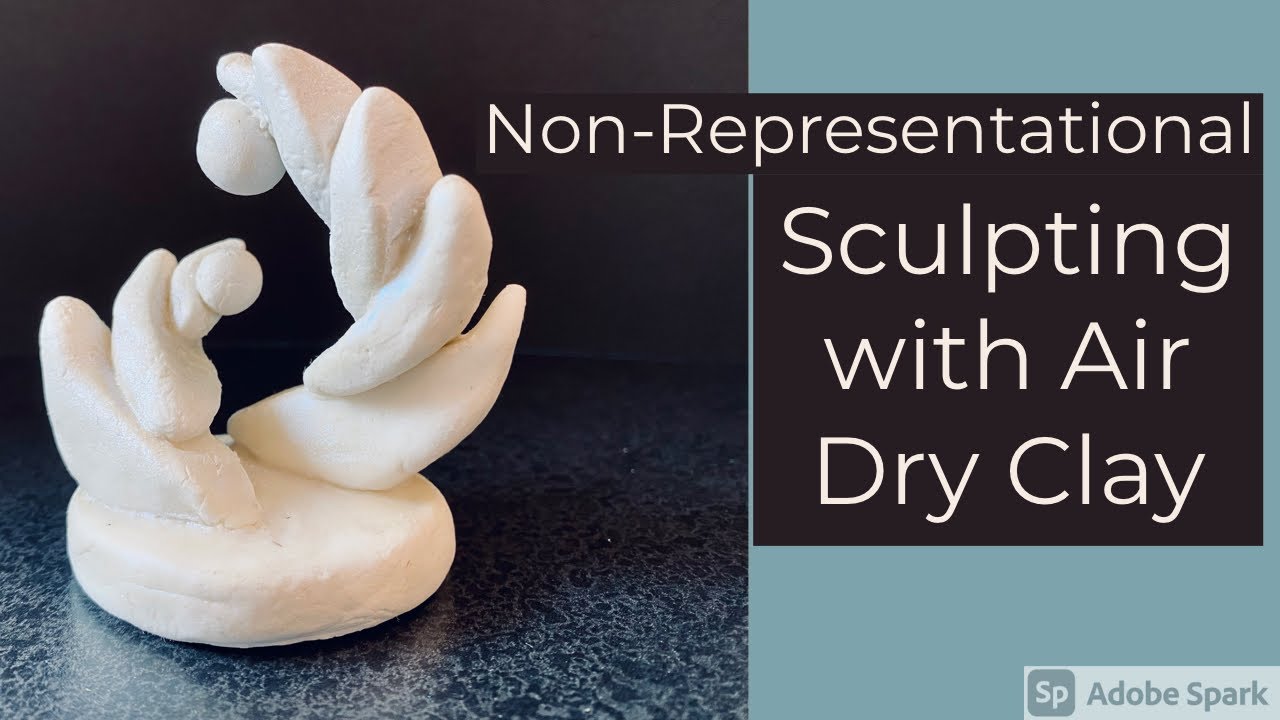
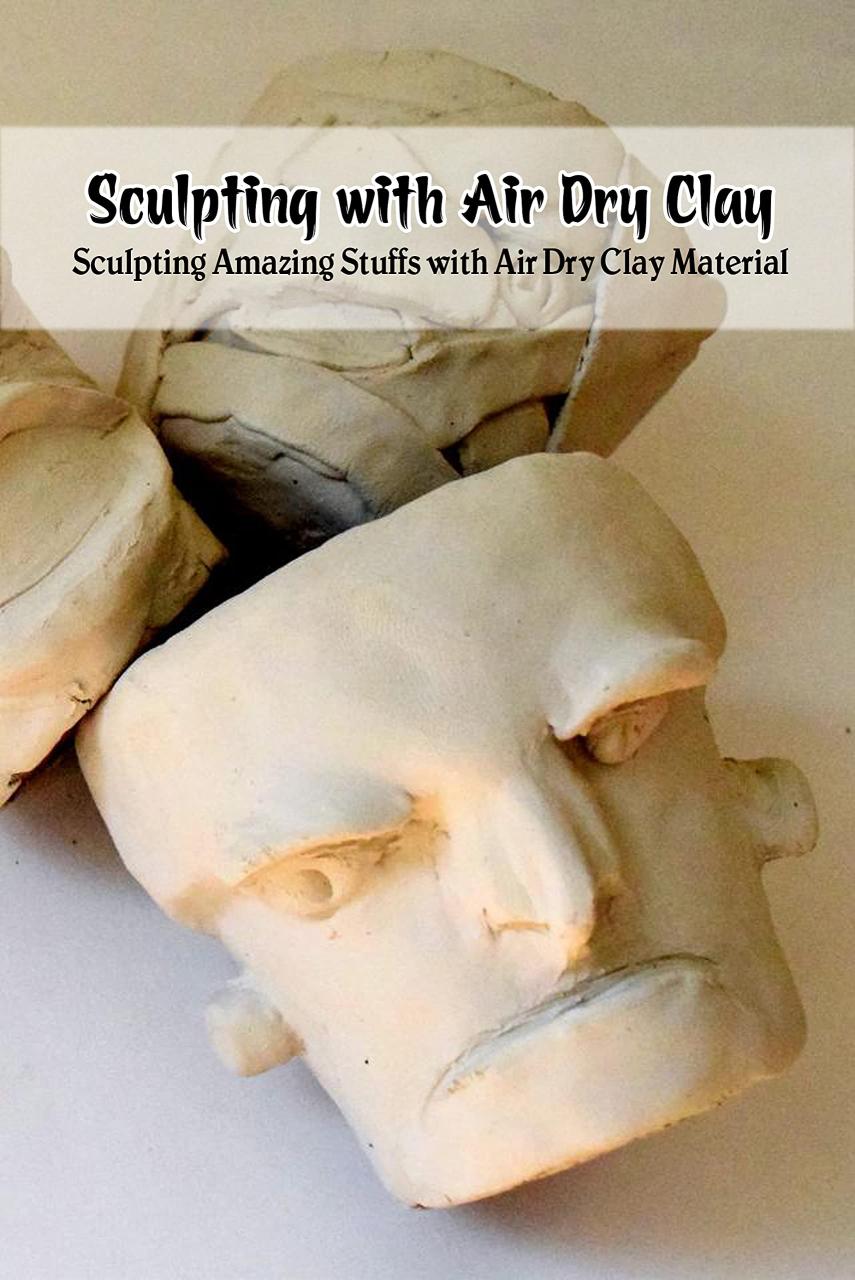
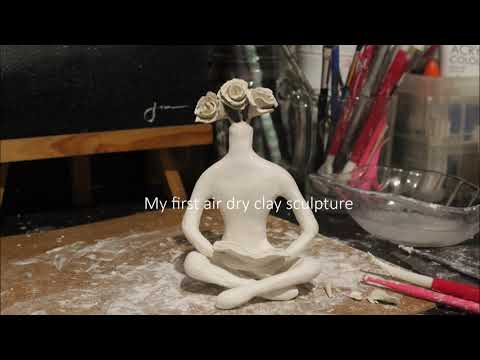
Let’s Sculpt with Air-Dry Clay: A Journey into 3D Art!
Hey there, young artist! Are you ready to dive into the world of 3D art with air-dry clay? It’s a fantastic medium that’s super fun to work with and lets you create all sorts of amazing things.
Before we get started, let’s answer a few questions to make sure we’re on the same page. What kind of things are you interested in making with clay? Do you have any prior experience with sculpting or working with clay? Knowing your interests and skill level will help me tailor the lessons to your needs.
Why Air-Dry Clay?
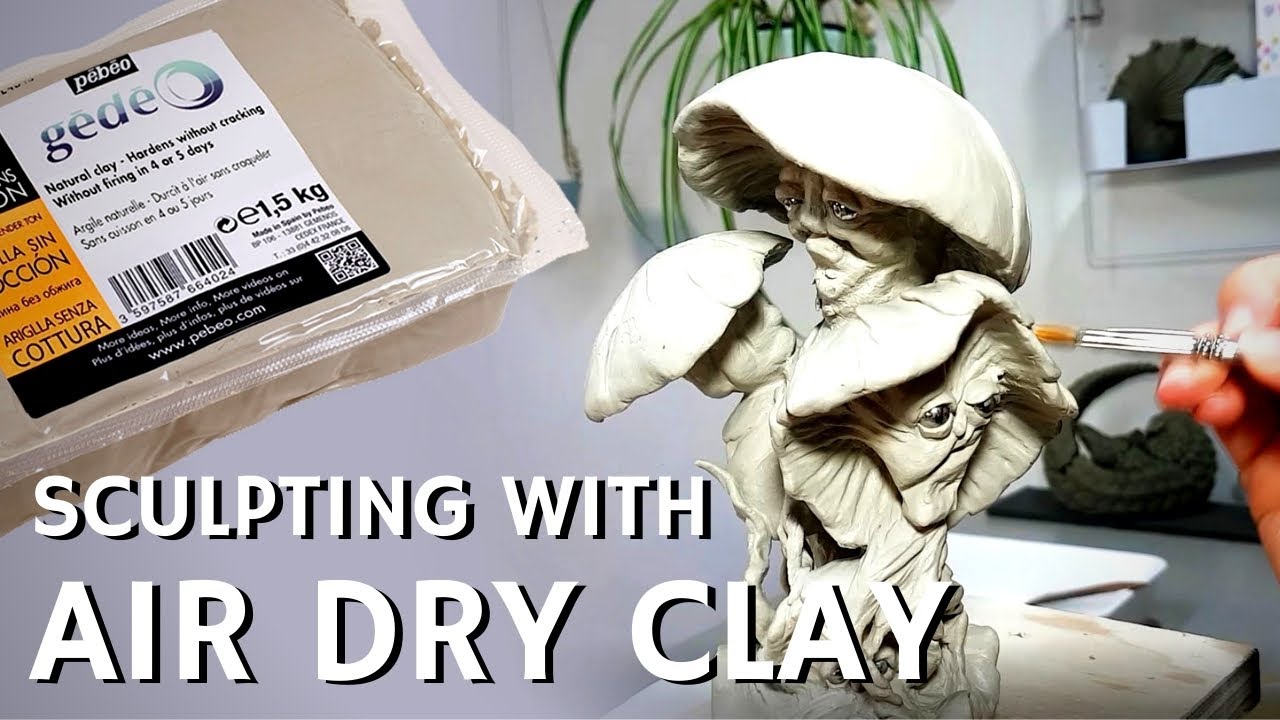
Air-dry clay is a fantastic choice for beginners because it’s super easy to use. No need for a kiln or fancy equipment! You simply shape it, let it dry, and voila! You’ve got a beautiful creation.
The Benefits of Sculpting:

Sculpting with air-dry clay isn’t just about creating cool things; it’s also a fantastic way to develop your creativity and fine motor skills. Here’s why:
- Boosting Creativity: Clay gives you the freedom to express yourself in a tactile way. You can sculpt anything you can imagine, from fantastical creatures to realistic portraits.
- Developing Fine Motor Skills: Working with clay helps strengthen your hand muscles and improves your hand-eye coordination. This is super important for developing your artistic skills and even your writing!
- Spatial Awareness: Sculpting helps you understand 3D shapes and how they relate to each other. This is a valuable skill in art, but also in everyday life.
- Problem-Solving: When you’re sculpting, you often have to think creatively to solve problems, like how to create a specific shape or texture.
- Relaxation and Stress Relief: The act of sculpting can be very calming and therapeutic. It’s a great way to de-stress and let your imagination run wild.
Getting Started with Air-Dry Clay:
Now, let’s get our hands dirty! Here’s a step-by-step guide to get you started:
-
Gather Your Supplies:
- Air-dry clay: Choose a color that you like.
- Work surface: A smooth, flat surface like a table or a piece of cardboard.
- Tools: You can use your fingers, a wooden skewer, a butter knife, or even a toothpick to shape the clay.
- Water: To keep the clay moist and workable.
- Optional: Rolling pin, cookie cutters, stamps, and other tools for creating textures and shapes.
-
Prepare the Clay:
- Soften the clay: Knead the clay with your hands until it’s soft and pliable. You can add a few drops of water if it’s too dry.
- Divide the clay: If you’re making multiple objects, divide the clay into smaller portions.
-
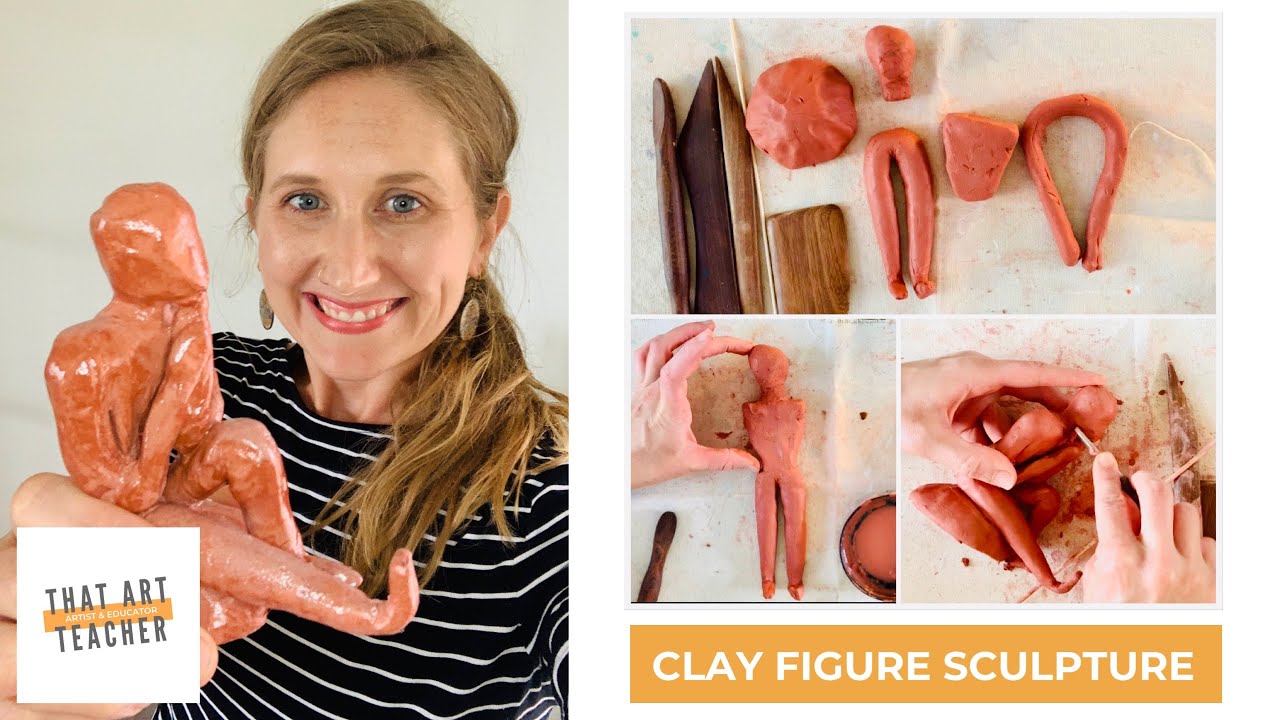
Sculpting Techniques:
- Pinch Pot: This is a classic technique for creating bowls, cups, or other round objects. Simply pinch a ball of clay between your thumb and forefinger, gradually widening the opening.
- Coil Building: Roll the clay into long, thin coils. Then, coil them together to build up the shape you want.
- Slab Building: Roll out the clay into a flat sheet using a rolling pin. Then, cut out shapes from the sheet and assemble them to create your sculpture.
-
Adding Details:
- Impressions: Use tools like stamps, cookie cutters, or textured objects to create patterns and designs on your clay.
- Carving: Use a wooden skewer or a toothpick to carve details into your sculpture.
- Adding Texture: You can use your fingers, a brush, or a sponge to add texture to your clay.
-
Drying:
- Air-dry clay: Leave your creation to dry in a well-ventilated area. Avoid direct sunlight or heat, as this can cause the clay to crack. It can take several days to dry completely.
FAQ: Frequently Asked Questions
Q1: How long does air-dry clay take to dry?
A1: It depends on the thickness of your sculpture and the humidity of the air. It can take anywhere from a few hours to a few days. You can check if it’s dry by gently pressing your finger on the surface. If it’s still soft, it needs more time to dry.
Q2: Can I paint air-dry clay?
A2: Absolutely! Once the clay is completely dry, you can paint it with acrylic paints, tempera paints, or even markers. Let your creativity shine!
Q3: What if my clay cracks while drying?
A3: This can happen if the clay dries too quickly. Try to avoid direct sunlight or heat. You can also try adding a bit of water to the surface of the clay to slow down the drying process.
Q4: Can I make small, delicate sculptures with air-dry clay?
A4: Yes, you can! Just be careful not to handle them too roughly while they’re drying. You can also use a small piece of wire or a toothpick to support delicate parts of your sculpture while it dries.
Q5: What are some fun things I can make with air-dry clay?
A5: The possibilities are endless! You can create:
- Animals: From cute puppies to majestic lions, you can sculpt all sorts of animal friends.
- Characters: Create your own superheroes, villains, or even your favorite cartoon characters.
- Decorations: Make ornaments, planters, or even jewelry.
- Food: Sculpt realistic-looking fruit, vegetables, or even a delicious-looking cake!
Remember, the most important thing is to have fun and experiment! There are no rules in art, so let your imagination guide you.
Let’s keep exploring! What kind of project are you most excited to try? Do you have any questions about the techniques or the materials? I’m here to help you every step of the way. Let’s create something amazing together!

Thus, we hope this article has provided valuable insights into Downloads Let’s Sculpt with Air-Dry Clay: A Journey into 3D Art!. We thank you for taking the time to read this article. See you in our next article!