With great pleasure, we will explore the intriguing topic related to Let’s Draw with Skin Color Pencils! 🎨. Let’s weave interesting information and offer fresh perspectives to the readers.
Introduction
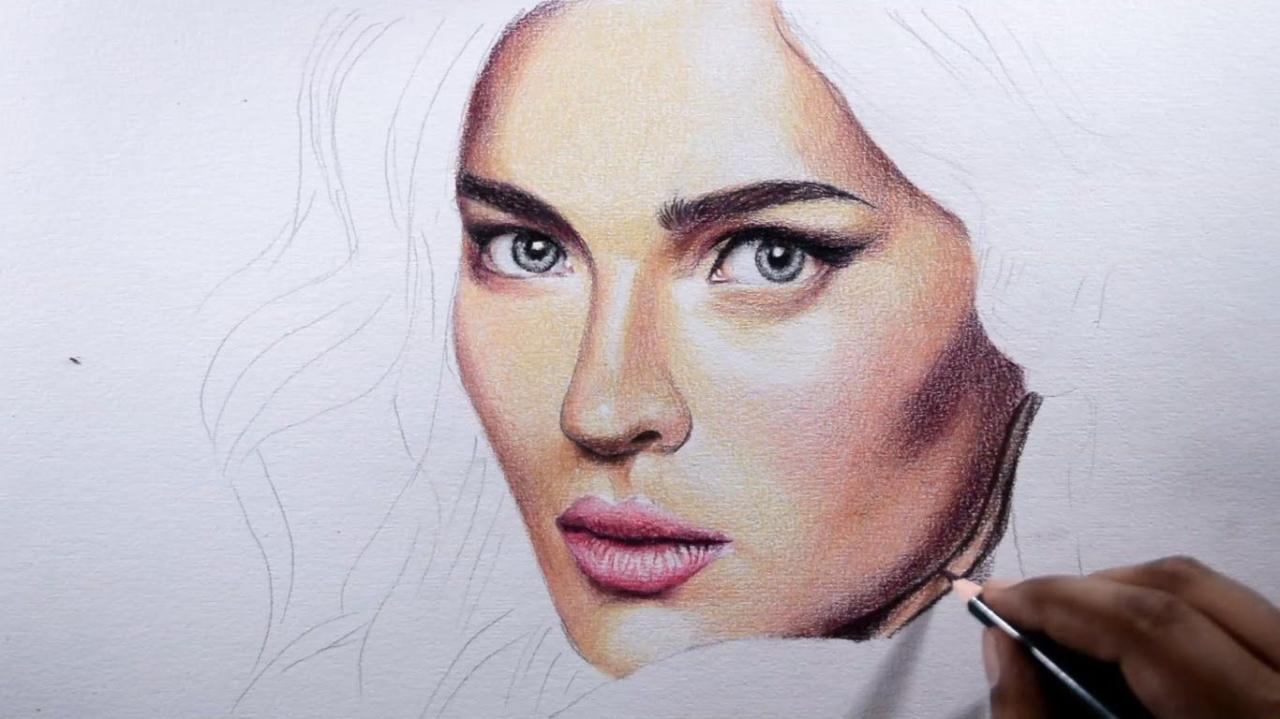
Let’s Draw with Skin Color Pencils! 🎨
Hey there, young artist! Are you ready to learn how to draw amazing portraits using skin color pencils? It’s a fun and rewarding skill that lets you capture the beauty of faces and express your creativity.
Before we dive in, let’s answer a few questions to make sure we’re on the same page:
- What kind of portraits are you interested in drawing? Do you want to draw realistic portraits, cartoon characters, or something else?
- What is your experience with drawing? Are you a beginner, or have you already tried drawing before?
- What kind of skin color pencils do you have? Do you have a set of pencils with different shades of skin tones, or just a few basic colors?
Knowing your answers will help me tailor this lesson to your specific needs and interests.
Why Draw with Skin Color Pencils?
Drawing with skin color pencils is a fantastic way to:
- Express yourself creatively: You can use different colors and techniques to create unique and expressive portraits.
- Learn about color and shading: Skin color is complex, and learning to draw it helps you understand how light and shadow work.
- Develop your observation skills: Drawing portraits requires you to carefully observe the features of your subject.
- Boost your confidence: As you improve your drawing skills, you’ll feel a sense of accomplishment and pride in your work.
Let’s Get Started!
Here’s a step-by-step guide to drawing a portrait with skin color pencils:
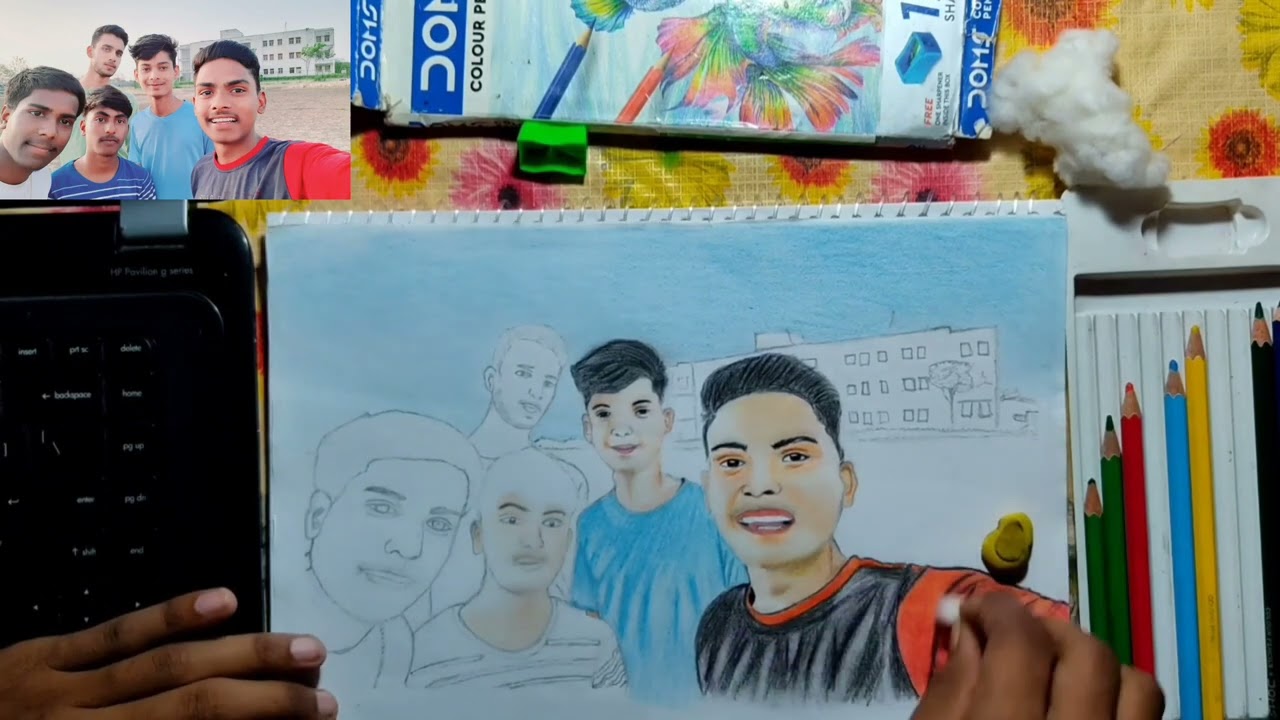
1. Choose your subject: You can start with a photo of yourself, a friend, or even a famous person.
2. Sketch the outline: Use a light pencil to lightly sketch the basic shape of the head, eyes, nose, mouth, and ears. Don’t worry about getting it perfect at this stage, it’s just a guide.
3. Add details: Once you have the outline, start adding more details to your drawing. Use your light pencil to draw the eyes, nose, mouth, and hair.
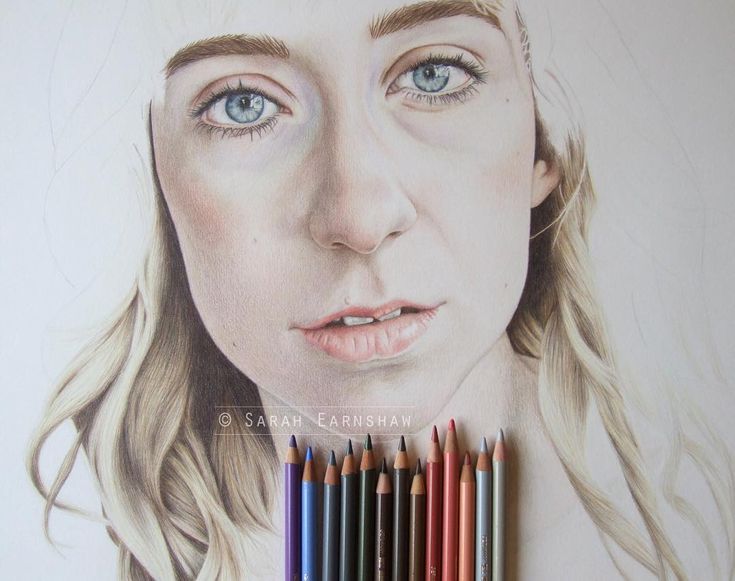
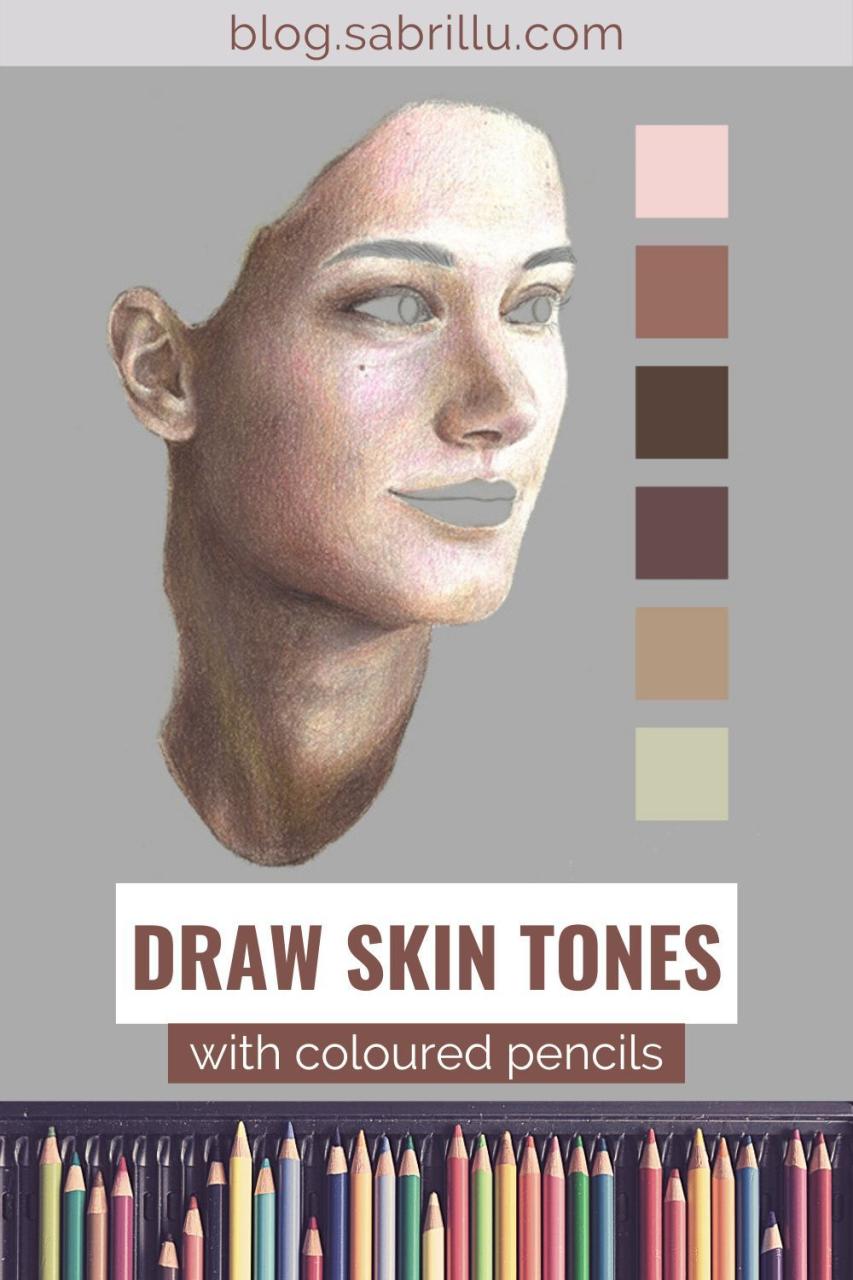
4. Start with the lightest skin tones: Choose a light skin color pencil and start filling in the areas where the light hits the face. This is usually the forehead, cheeks, and chin.
5. Add shadows: Use a darker skin color pencil to add shadows under the nose, around the eyes, and under the chin.
6. Blend the colors: Use a blending tool, like a cotton swab or your finger, to soften the edges of the colors and create a smooth transition between light and shadow.
7. Add details and highlights: Use a very light skin color pencil or a white pencil to add highlights to the face. This will give your drawing a more realistic look.
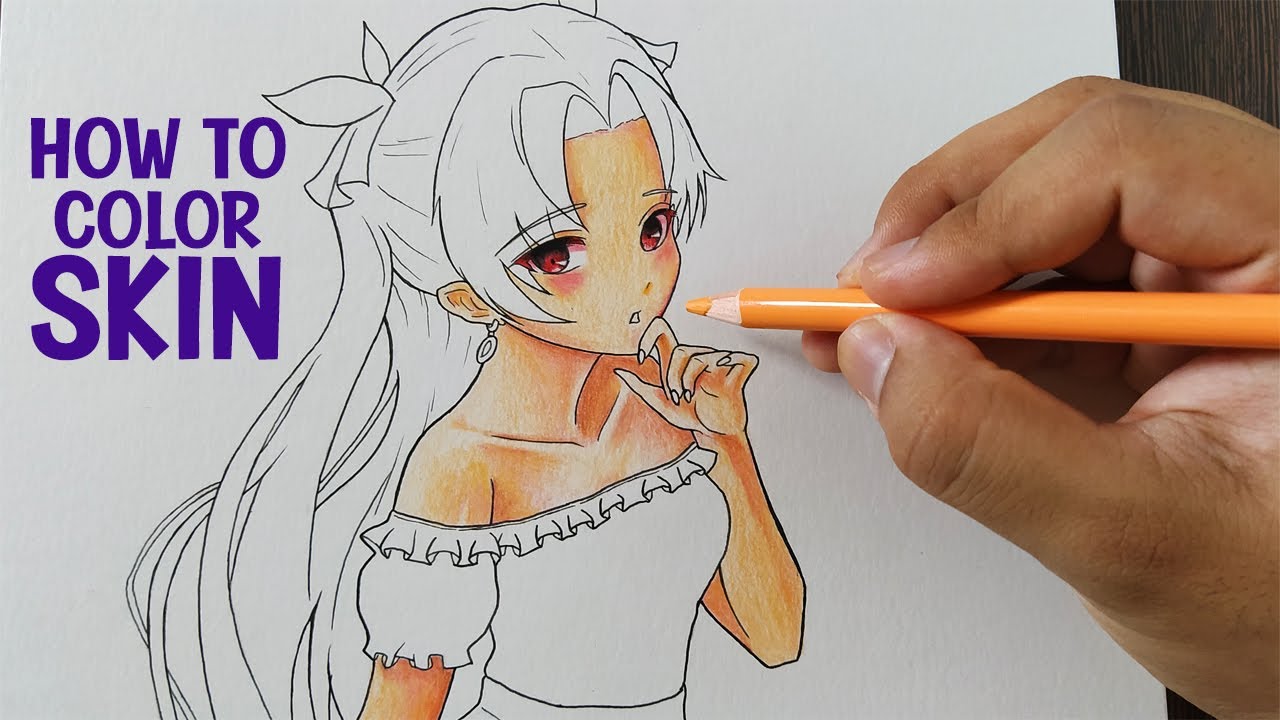
8. Draw the hair: Choose a pencil that matches the color of your subject’s hair and start filling in the hair. Use different shades of the same color to create depth and dimension.
9. Add the background: If you want, you can add a background to your drawing. Use a light pencil to sketch the background and then use different colored pencils to fill it in.
10. Final touches: Once you’re happy with your drawing, you can add some final touches, such as adding a signature or a date.
Tips for Success:
- Practice makes perfect: The more you draw, the better you’ll become.
- Don’t be afraid to make mistakes: Everyone makes mistakes, and that’s okay. Just keep practicing and you’ll improve.
- Use different shades of skin color: Don’t just use one or two colors. Use a variety of shades to create depth and dimension.
- Take breaks: If you’re feeling frustrated, take a break and come back to your drawing later.
- Have fun! Drawing should be enjoyable. If you’re not having fun, you’re less likely to stick with it.
FAQs:
1. What if I don’t have the right skin color pencils?
Don’t worry, you can still create amazing portraits! You can mix and match different colored pencils to create the right skin tone. For example, you can mix a light brown pencil with a bit of orange to create a warm skin tone.
2. How do I make my drawings look more realistic?
The key to realistic drawings is shading. Pay attention to the light and shadow on your subject’s face and use different shades of skin color to create a sense of depth.
3. What if I can’t draw the eyes or nose correctly?
Practice makes perfect! There are many resources available online and in libraries that can help you learn how to draw different features. You can also ask a more experienced artist for help.
4. How can I improve my blending skills?
Practice blending different colors on a scrap piece of paper. Experiment with different blending tools, such as cotton swabs, paper stumps, or your fingers.
5. What are some good resources for learning more about drawing portraits?
There are many great resources available online and in libraries. You can find tutorials, videos, and books on drawing portraits. You can also check out local art classes or workshops.
Remember, drawing is a journey, not a destination. Have fun, be patient, and don’t give up! I believe in you, young artist!
Thus, we hope this article has provided valuable insights into Downloads Let’s Draw with Skin Color Pencils! 🎨. We appreciate your attention to our article. See you in our next article!