In this auspicious occasion, we are delighted to delve into the intriguing topic related to Let’s Draw a Highlighter Pen with Eraser!. Let’s weave interesting information and offer fresh perspectives to the readers.
Introduction
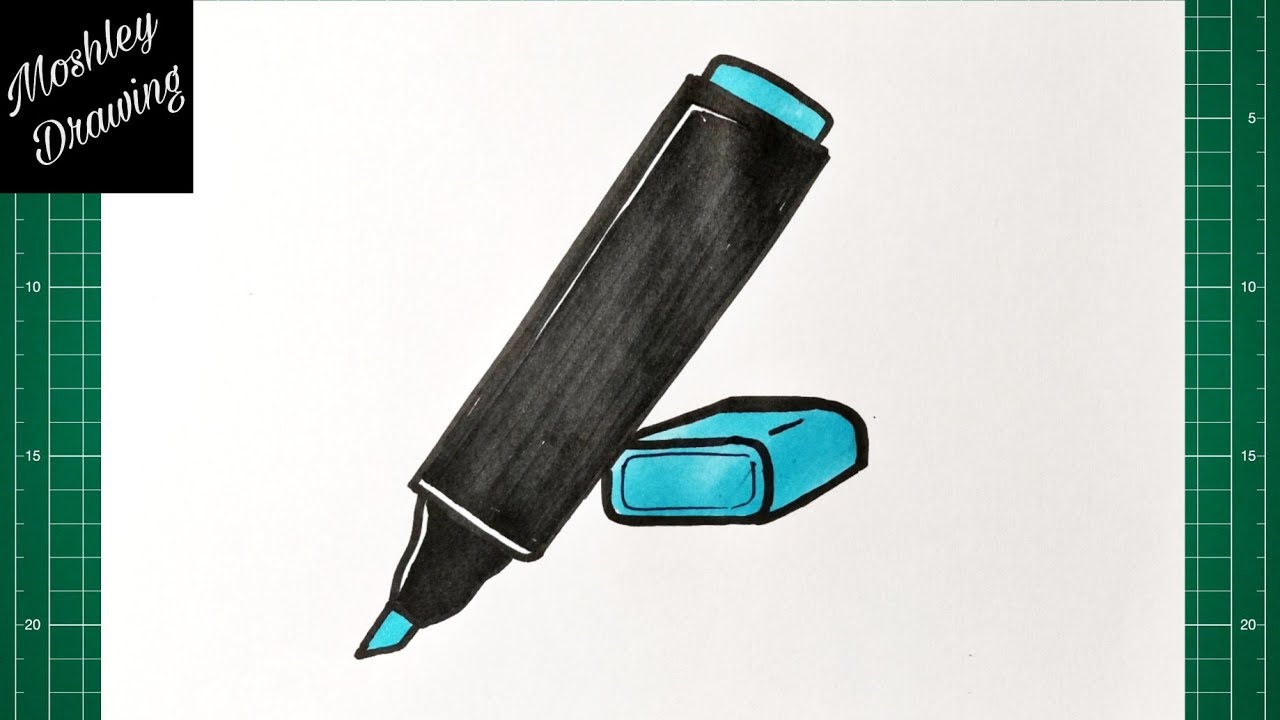
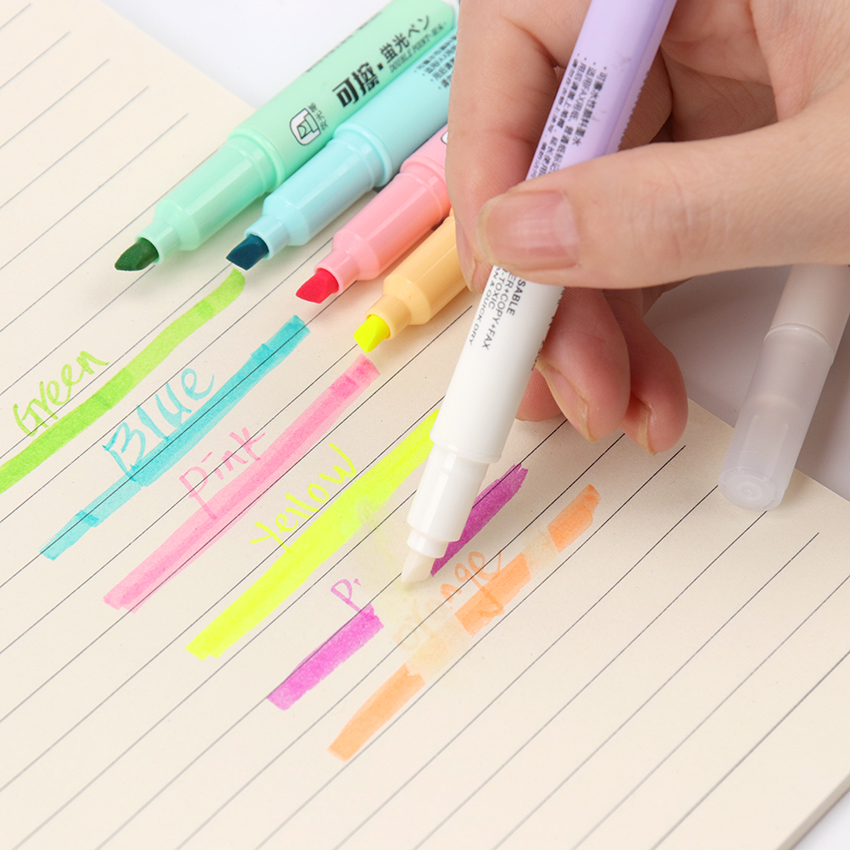
Let’s Draw a Highlighter Pen with Eraser!
Hey there, young artist! Ready to learn how to draw a highlighter pen with an eraser? It’s going to be fun!
Before we start, let’s answer a few questions to make sure we’re on the same page:
- What kind of highlighter pen are you thinking of? Is it a thick, chunky one or a thin, sleek one? Does it have a specific color you want to draw?
- Do you want to draw the pen realistically or in a more cartoon style?
- Have you drawn any other objects before? Knowing your experience will help me tailor the lesson to you.
Once we have a clearer picture of what you want to draw, we can get started!
Here’s our plan of attack:
- Basic Shapes: We’ll start by breaking down the highlighter pen into simple shapes like rectangles, cylinders, and circles.
- Lines and Curves: We’ll use different types of lines and curves to create the details of the pen, like the cap, the tip, and the eraser.
- Shading and Texture: We’ll learn how to use shading to make the pen look three-dimensional and add some texture to the plastic and the eraser.
- Adding Color: We’ll explore different ways to add color to our drawing, using crayons, markers, or even colored pencils.

Let’s start with the basics!
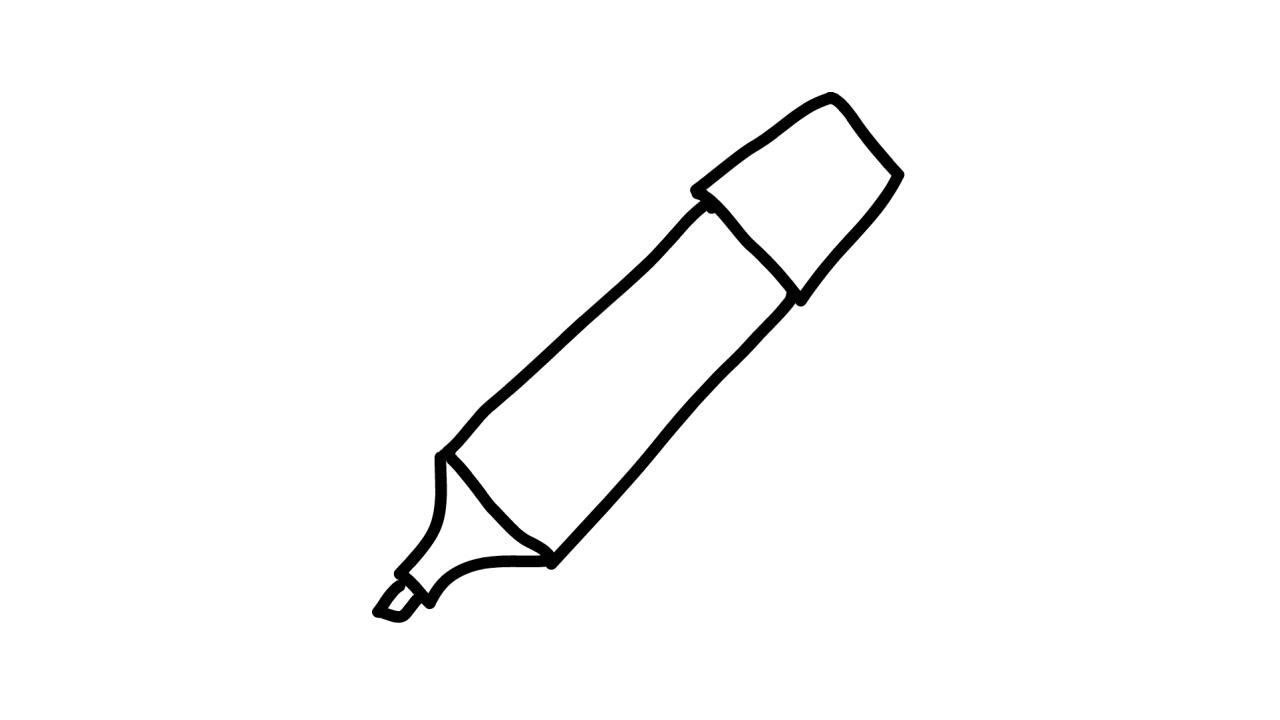
Step 1: The Pen Body
Imagine the highlighter pen as a long, thin cylinder. We can draw this using a rectangle for the main body and two circles for the ends.
- Start with a long rectangle: This will be the main body of the pen. Don’t worry about making it perfect, just a simple rectangle.
- Add two circles: One at the top and one at the bottom of the rectangle. These will be the cap and the bottom of the pen.
- Connect the circles: Use lines to connect the circles to the rectangle. These lines will be the sides of the pen.
Step 2: The Cap and Tip
Now let’s add some details to the cap and the tip of the pen.

- Cap: Draw a small circle on top of the larger circle that represents the cap. This will be the top of the cap.
- Tip: Draw a small rectangle on the bottom of the pen body. This will be the tip of the highlighter.
Step 3: The Eraser
Now, let’s add the eraser to our highlighter pen!
- Shape: The eraser is usually a small rectangle or a circle. Draw the shape you prefer at the top of the pen, just below the cap.
- Details: You can add a small circle to the center of the eraser to represent the eraser tip.
Step 4: Shading and Texture
To make our highlighter pen look more realistic, we can add some shading.
- Light and Shadow: Think about where the light would be hitting the pen. The side facing the light will be lighter, while the opposite side will be darker. Use light lines to shade the lighter areas and darker lines for the shadows.
- Texture: Use short, quick strokes to create a texture for the plastic of the pen. For the eraser, you can use softer strokes to create a rubbery texture.
Step 5: Adding Color
Now it’s time to add some color!
- Choose your colors: What color highlighter pen are you drawing? Choose a color that you like.
- Coloring: Use crayons, markers, or colored pencils to color in your drawing. Try to stay within the lines and use different shades of your chosen color to add depth.
That’s it! You’ve just drawn a highlighter pen with an eraser!
Now, let’s talk about the benefits of drawing!
Drawing is more than just a fun activity. It’s a powerful tool that can help us in many ways.
- Creativity: Drawing allows us to express our creativity and imagination. We can create our own worlds and characters, or draw things we see in the real world.
- Problem-solving: Drawing helps us to think critically and solve problems. We need to figure out how to represent objects in two dimensions, and we need to make decisions about composition, color, and shading.
- Communication: Drawing is a powerful form of communication. We can use it to share our ideas, feelings, and stories with others.
- Focus and Concentration: Drawing requires us to focus and concentrate. It helps us to calm our minds and be present in the moment.
- Self-expression: Drawing is a way for us to express ourselves and explore our own unique style.
FAQs
- Q: What if I’m not good at drawing?
- A: Everyone starts somewhere! The most important thing is to have fun and keep practicing. Don’t be afraid to make mistakes, they are part of the learning process.
- Q: What if I don’t have any drawing supplies?
- A: You can draw with anything! Use a pencil and paper, or even draw in the dirt with a stick. The most important thing is to find something you enjoy using.
- Q: What can I draw besides a highlighter pen?
- A: The possibilities are endless! Draw your favorite animal, a fruit, a flower, a car, or anything else that comes to mind.
- Q: How can I improve my drawing skills?
- A: Practice, practice, practice! The more you draw, the better you will become. You can also take online drawing classes or find a drawing tutor.
- Q: What if I get bored with drawing?
- A: Try something new! Experiment with different drawing techniques, like sketching, shading, or cross-hatching. You can also try drawing in different styles, like cartoon or realistic.
Remember, drawing is a journey, not a destination. Have fun, be patient, and keep exploring!
Thus, we hope this article has provided valuable insights into Downloads Let’s Draw a Highlighter Pen with Eraser!. We hope you find this article informative and beneficial. See you in our next article!