With great pleasure, we will explore the intriguing topic related to Let’s Dive into the Colorful World of Tie-Dye Art!. Let’s weave interesting information and offer fresh perspectives to the readers.
Introduction
Let’s Dive into the Colorful World of Tie-Dye Art!
Hey there, budding artists! I’m your friendly neighborhood drawing teacher, here to help you unlock the vibrant world of tie-dye art. We’re going to explore how to create stunning patterns and colors on fabric, and along the way, we’ll discover the amazing benefits of drawing for young minds like yours.
Before we start, tell me, what kind of fabric are you most excited to tie-dye? Is it a t-shirt, a pillowcase, or maybe a cool bandana? Knowing your project will help me tailor our journey to your specific interests.
The Magic of Tie-Dye:
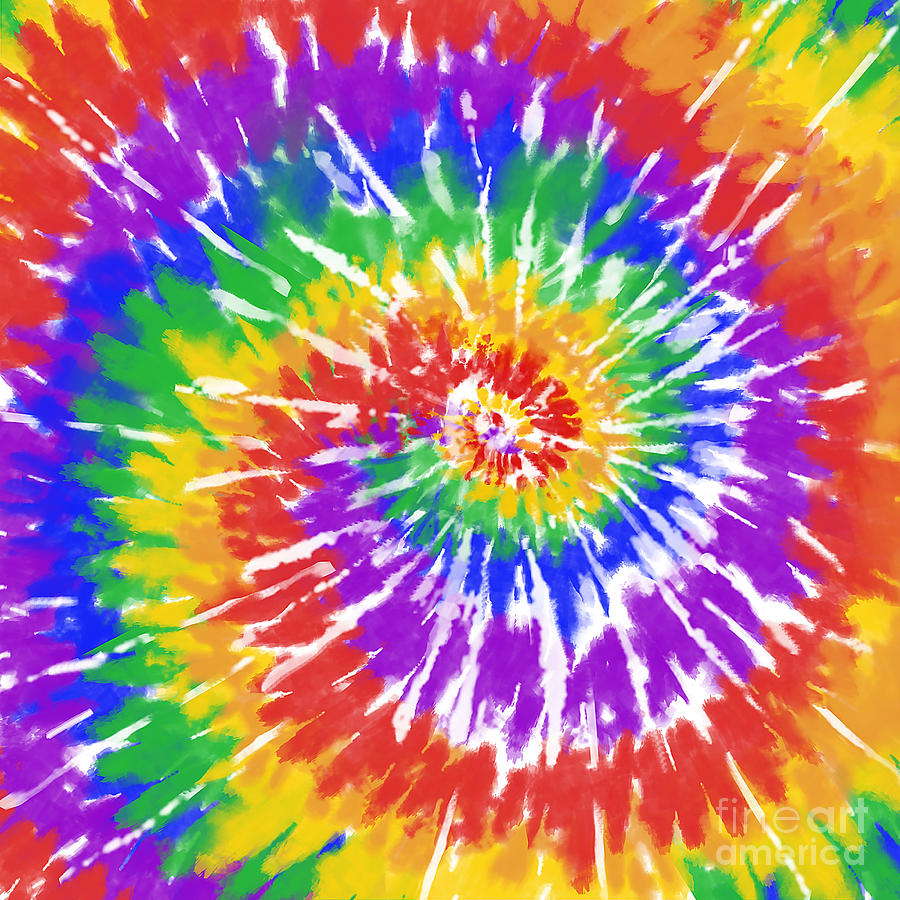
Tie-dye is all about creating unique designs by folding, twisting, and securing fabric before applying colorful dye. Think of it like a secret code that reveals itself when the dye sets! It’s a fun and creative way to personalize your clothes, accessories, or even home decor.
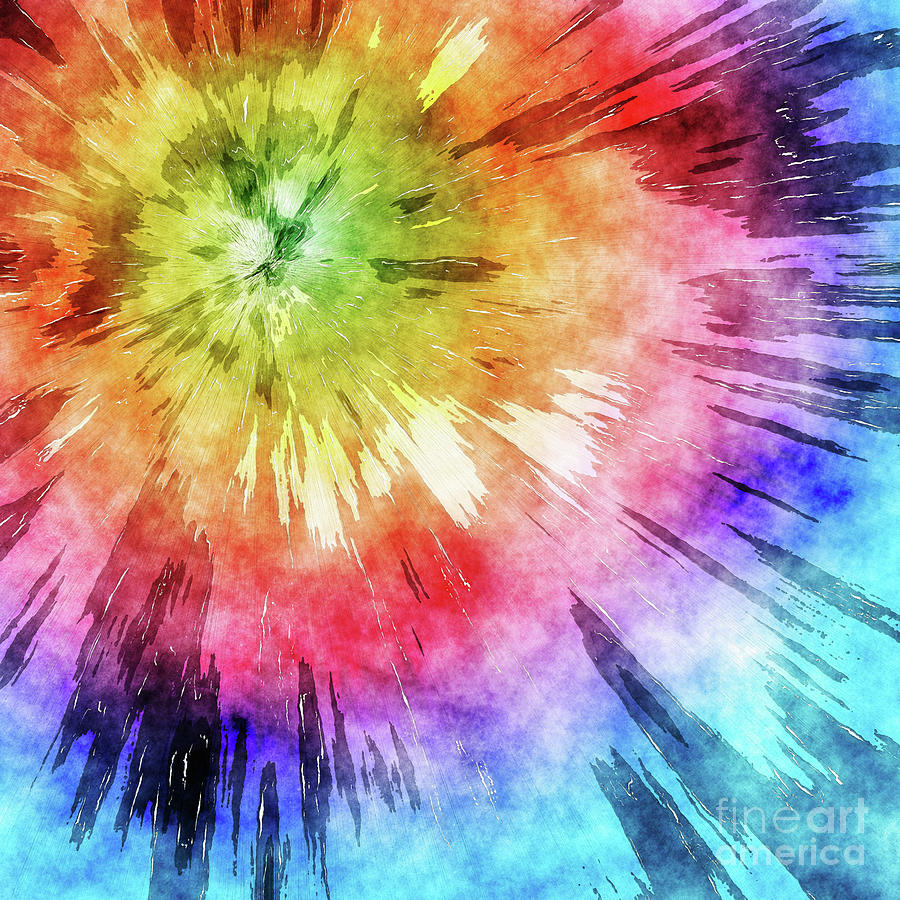
What are your favorite colors? Do you have a dream color combination in mind for your tie-dye masterpiece?
The Drawing Connection:
You might be wondering, how does drawing connect to tie-dye? Well, believe it or not, drawing is a fundamental skill that plays a huge role in tie-dye success. Here’s how:
- Visualizing the Design: Before you even touch the fabric, you need to imagine the pattern you want to create. Drawing helps you sketch out your ideas, experiment with different shapes and arrangements, and visualize the final outcome. It’s like a blueprint for your tie-dye project!

Do you have any sketches or ideas for your tie-dye design? We can use them as inspiration!
- Understanding Shapes and Lines: Tie-dye relies heavily on folding and twisting the fabric to create different patterns. Drawing helps you understand how shapes and lines interact with each other, which is crucial for achieving the desired results. Think of it like learning the alphabet of tie-dye!
Do you have any favorite shapes or patterns you’d like to try in your tie-dye?
- Developing Fine Motor Skills: Drawing strengthens your hand-eye coordination and fine motor skills, which are essential for manipulating fabric and applying dye with precision. It’s like practicing your tie-dye moves before the real show!
Do you like to draw with pencils, crayons, or markers? We can use these tools to practice our tie-dye skills!
Let’s Get Started!

Now that we understand the connection between drawing and tie-dye, let’s get our hands dirty (and colorful!) Here’s a simple step-by-step guide to create your first tie-dye masterpiece:
Materials:
- Fabric (cotton or linen work best)
- Rubber bands or string
- Dye (powder or liquid)
- Gloves
- Plastic wrap or a large plastic bag
- A bucket or bowl for mixing dye
- Water
- Vinegar (optional)

Step 1: Prepare the Fabric:
- Wash your fabric and let it dry completely. This removes any sizing that might interfere with the dye.
- Fold or twist your fabric according to your desired pattern. Remember, practice your folding techniques!
Step 2: Tie It Up!
- Secure the folds with rubber bands or string. The tighter the tie, the more defined the pattern will be. Remember, you can use multiple bands for more intricate designs.
Step 3: Mix the Dye:
- Follow the instructions on your dye package. Most dyes require a mixture of water and a little bit of vinegar to activate the color.
Step 4: Apply the Dye:
- Wear gloves to protect your hands.
- Apply the dye evenly to the fabric, making sure to saturate it completely.
- Let the dye sit for at least 24 hours.
Step 5: Rinse and Dry:
- Rinse the fabric thoroughly under cold water until the water runs clear.
- Let the fabric dry completely.
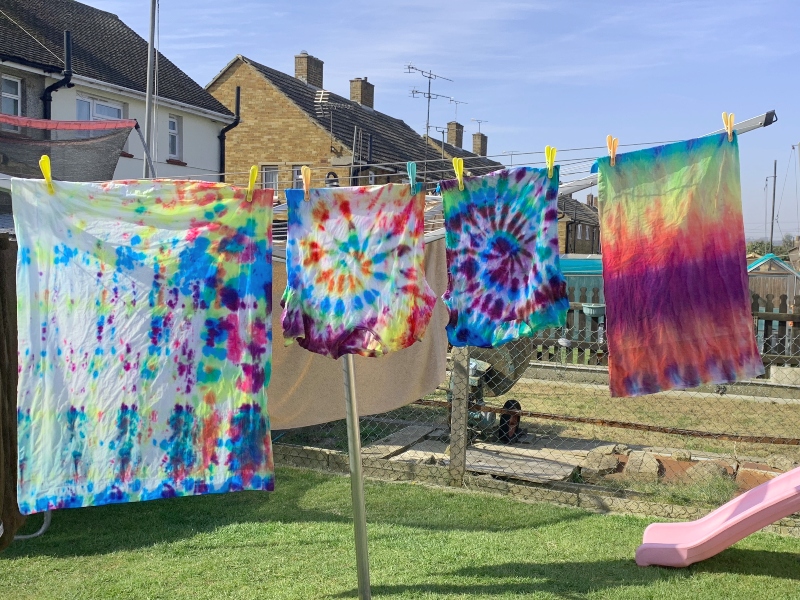
Step 6: Admire Your Masterpiece!
- Once the fabric is dry, remove the rubber bands or string.
- Reveal your unique tie-dye creation!
Benefits of Drawing:
Drawing isn’t just about creating beautiful artwork. It’s a powerful tool that benefits your mind and body in countless ways:
- Boosts Creativity: Drawing encourages you to think outside the box and explore your imagination. It’s like a playground for your creative ideas!
- Enhances Problem-Solving Skills: Drawing challenges you to find solutions and overcome obstacles, just like tie-dye!
- Improves Concentration: Drawing requires focus and attention to detail, which helps you develop concentration skills.
- Develops Fine Motor Skills: Drawing strengthens your hand-eye coordination and fine motor skills, which are important for everything from writing to playing instruments.
- Reduces Stress and Anxiety: Drawing can be a relaxing and therapeutic activity that helps you unwind and express yourself.
Do you have any other questions about drawing or tie-dye? I’m here to help you explore your artistic potential!
FAQs:
1. What if my tie-dye doesn’t turn out the way I planned?
Don’t worry! Tie-dye is all about experimentation and embracing the unexpected. Even if your first attempt doesn’t look perfect, it’s still a unique and beautiful creation. Keep practicing and you’ll learn to control the dye and create amazing patterns.
2. How can I make my tie-dye designs more intricate?
You can try using more rubber bands or string to create tighter folds and more complex patterns. You can also experiment with different folding techniques, like crumpling, scrunching, or pleating the fabric.
3. Can I use different colors of dye?
Absolutely! You can mix and match colors to create your own unique combinations. Just remember to apply each color separately to avoid mixing them together.
4. How long does it take for the dye to set?
Most dyes need at least 24 hours to set properly. However, some dyes may require longer setting times. Always follow the instructions on your dye package.
5. What are some other fun ways to tie-dye?
You can try using a variety of techniques, like shibori, spiral, or even using stencils to create unique designs. The possibilities are endless!
Remember, tie-dye is a journey of exploration and self-expression. So have fun, experiment, and let your creativity shine!

Thus, we hope this article has provided valuable insights into Downloads Let’s Dive into the Colorful World of Tie-Dye Art!. We thank you for taking the time to read this article. See you in our next article!