With enthusiasm, let’s navigate through the intriguing topic related to Drawing Dry Air Clay: A Fun and Mess-Free Adventure!. Let’s weave interesting information and offer fresh perspectives to the readers.
Introduction
Drawing Dry Air Clay: A Fun and Mess-Free Adventure!
Hey there, budding artists! Are you ready to sculpt and draw with a material that’s both fun and easy to work with? Today, we’re going to explore the wonderful world of dry air clay!
What is Dry Air Clay?
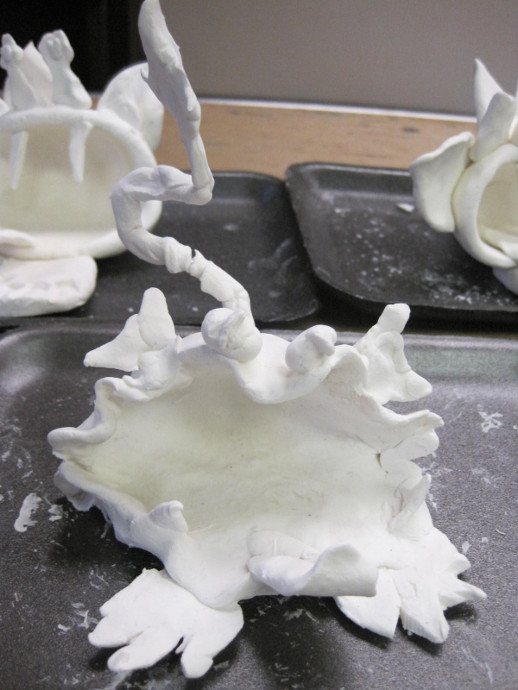
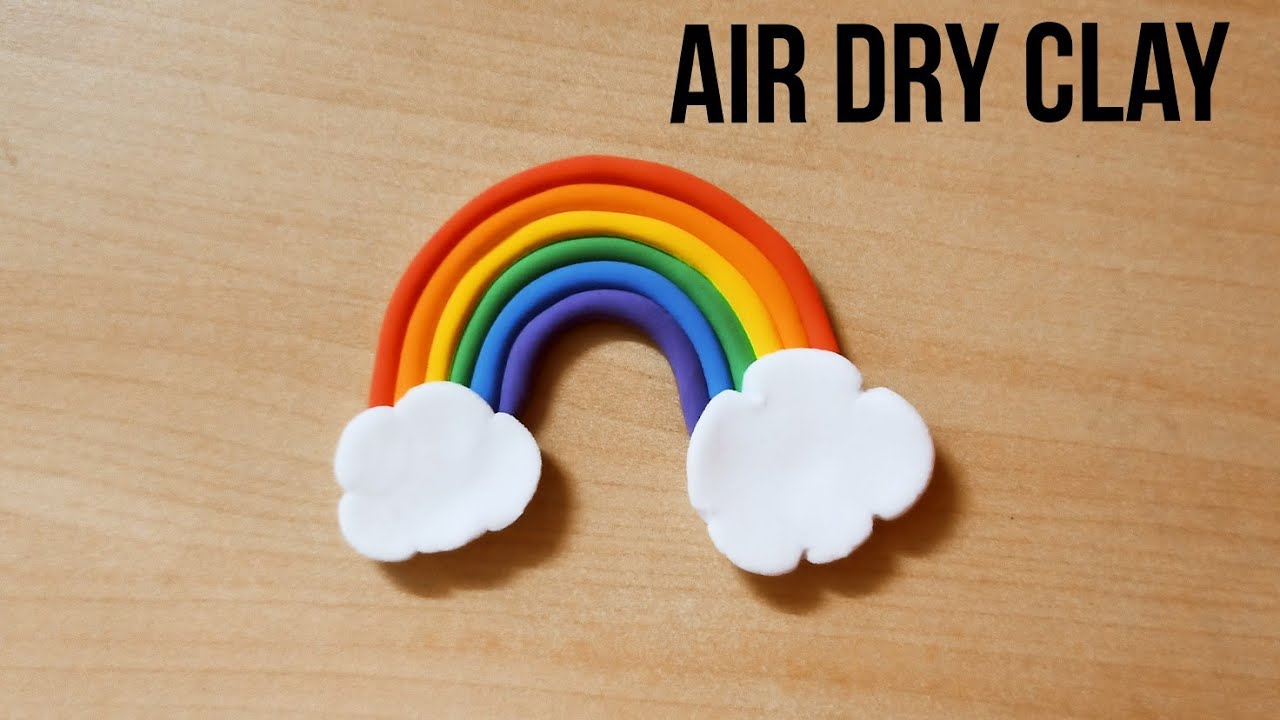
Dry air clay is a special type of clay that hardens in the air, making it perfect for creating all sorts of amazing sculptures. It’s like magic! You can mold and shape it just like regular clay, but it doesn’t need to be fired in a kiln. Once it dries, it becomes hard and durable, ready to be painted or decorated.
Why Draw with Dry Air Clay?
Drawing with dry air clay is a fantastic way to explore your creativity and learn new skills. It’s a fun and engaging activity that can help you:
- Develop your fine motor skills: Working with dry air clay strengthens your hand muscles and improves your dexterity. This helps with holding a pencil, writing, and other everyday tasks.
- Boost your imagination: Dry air clay allows you to create anything you can dream up! Let your imagination run wild and bring your ideas to life.
- Learn about shapes and forms: By sculpting with clay, you’ll gain a better understanding of three-dimensional shapes and how they fit together.
- Express yourself: Art is a powerful way to communicate your feelings and thoughts. Dry air clay gives you a unique medium to express yourself creatively.
- Have fun! Most importantly, drawing with dry air clay is simply a lot of fun! It’s a relaxing and enjoyable activity that can help you unwind and de-stress.
Let’s Get Started!
Before we dive into the fun, let’s answer a few questions to make sure we’re all on the same page.
1. What kind of dry air clay are you using? There are different types of dry air clay available, some are smoother, some are more textured. Knowing what you have will help us choose the right techniques.
2. What are you hoping to create? Are you thinking of making animals, characters, or abstract shapes? Knowing your goals will help us plan our drawing journey.
3. Do you have any prior experience with drawing or sculpting? If you’re a beginner, we’ll start with simple exercises. If you’re more experienced, we can explore more advanced techniques.
Now, let’s get our hands dirty!
Basic Techniques for Drawing with Dry Air Clay:
- Rolling: To create a smooth, even surface, roll the clay between your palms. You can use different pressures to create different thicknesses.
- Pinching: Pinch the clay to create small details, like noses, ears, or fingers.
- Smoothing: Use your fingers or a tool to smooth out the clay and blend different shapes together.
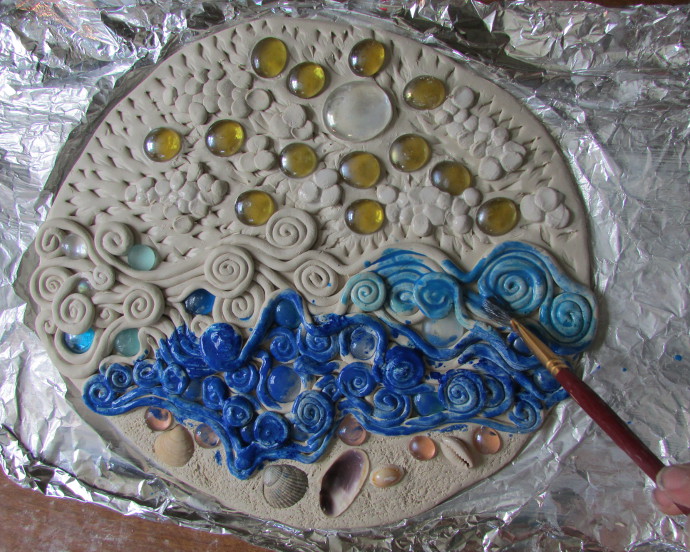
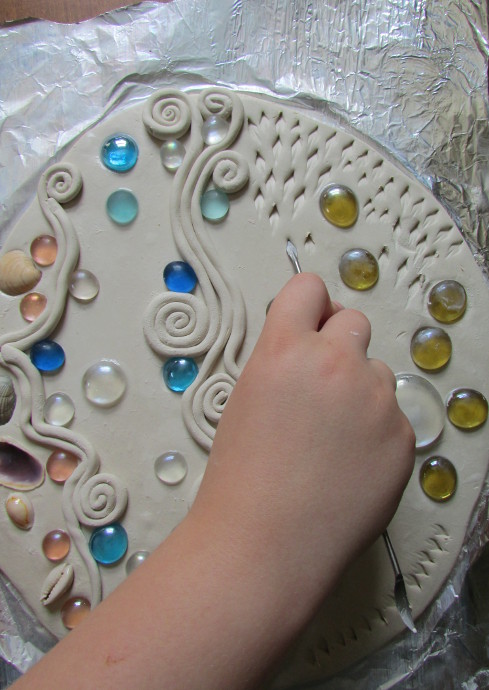
- Adding Texture: Use tools like toothpicks, forks, or even your fingers to create textures on the clay.
- Attaching Pieces: To attach two pieces of clay together, simply moisten the edges with water and press them firmly together.
Drawing Ideas for Dry Air Clay:
- Animals: Create a zoo of your favorite animals, from fluffy bunnies to majestic lions.
- Characters: Bring your favorite book characters or your own original creations to life.
- Food: Sculpt delicious-looking fruit, vegetables, or your favorite desserts.
- Abstract Shapes: Experiment with different forms and textures to create unique and interesting sculptures.
FAQs about Drawing with Dry Air Clay:
1. How long does dry air clay take to dry? Drying time varies depending on the thickness of the clay and the humidity of the air. It can take anywhere from a few hours to a day or more.
2. Can I paint dry air clay? Yes! Once the clay is completely dry, you can paint it with acrylics, watercolors, or other paints.
3. Can I use dry air clay to make jewelry? Yes, you can! Just make sure to use a thin layer of clay and allow it to dry completely before adding any embellishments.
4. What if my dry air clay cracks? Sometimes dry air clay can crack if it dries too quickly. To prevent cracking, you can add a little water to the clay or let it dry slowly in a humid environment.
5. Where can I find dry air clay? Dry air clay is available at most craft stores and online retailers.
Let’s Draw Together!
Now it’s your turn! Grab your dry air clay and let’s get creative. Remember, there are no right or wrong ways to draw with dry air clay. Just have fun and let your imagination soar!
Remember, I’m here to help you along the way. Don’t be afraid to ask questions, experiment, and explore all the possibilities of dry air clay!
Thus, we hope this article has provided valuable insights into Downloads Drawing Dry Air Clay: A Fun and Mess-Free Adventure!. We thank you for taking the time to read this article. See you in our next article!