With great pleasure, we will explore the intriguing topic related to Let’s Sculpt Some Terracotta Magic!. Let’s weave interesting information and offer fresh perspectives to the readers.
Introduction
Let’s Sculpt Some Terracotta Magic!

Hey there, aspiring artists! I’m your friendly neighborhood drawing teacher, here to help you unlock the world of terracotta clay and air-dry sculpting. We’re going to have a blast exploring this versatile material, and you’ll be surprised at what you can create!
Before we dive in, let’s get a little bit more familiar with you.
Tell me, what are your goals for learning to sculpt with terracotta clay?
Do you want to make cute animal figurines? Maybe you’re dreaming of building a miniature world? Or perhaps you’re just curious to see what you can create with your hands?
No matter your reason, I’m here to guide you through the process, step by step.
Here’s a breakdown of what we’ll cover:
1. The Wonderful World of Terracotta Clay:
- What is Terracotta Clay? Terracotta clay is a type of clay that gets its reddish-brown color from iron oxide. It’s a naturally occurring material, making it a great eco-friendly choice for crafting.
- Why Air-Dry Clay? Air-dry clay is super convenient because it hardens by itself, no need for a kiln! It’s also perfect for beginners because it’s easy to work with and less messy than traditional clay.
- What You’ll Need:
- A block of air-dry terracotta clay
- A smooth, flat surface to work on (like a table or cutting board)
- A rolling pin (or a glass bottle) to flatten the clay
- A plastic knife or sculpting tools (toothpicks, skewers, etc.)
- Water (for softening the clay)
- A small bowl for water
- Optional: Acrylic paints, brushes, varnish
2. Let’s Get Our Hands Dirty!
- Softening the Clay: Start by kneading your clay like dough. This will make it more pliable and easier to work with. If the clay feels too dry, add a few drops of water at a time and continue kneading.
- Creating a Base: Once your clay is soft, you can start building your sculpture. Roll out a ball of clay into a flat pancake shape. This will be your base.
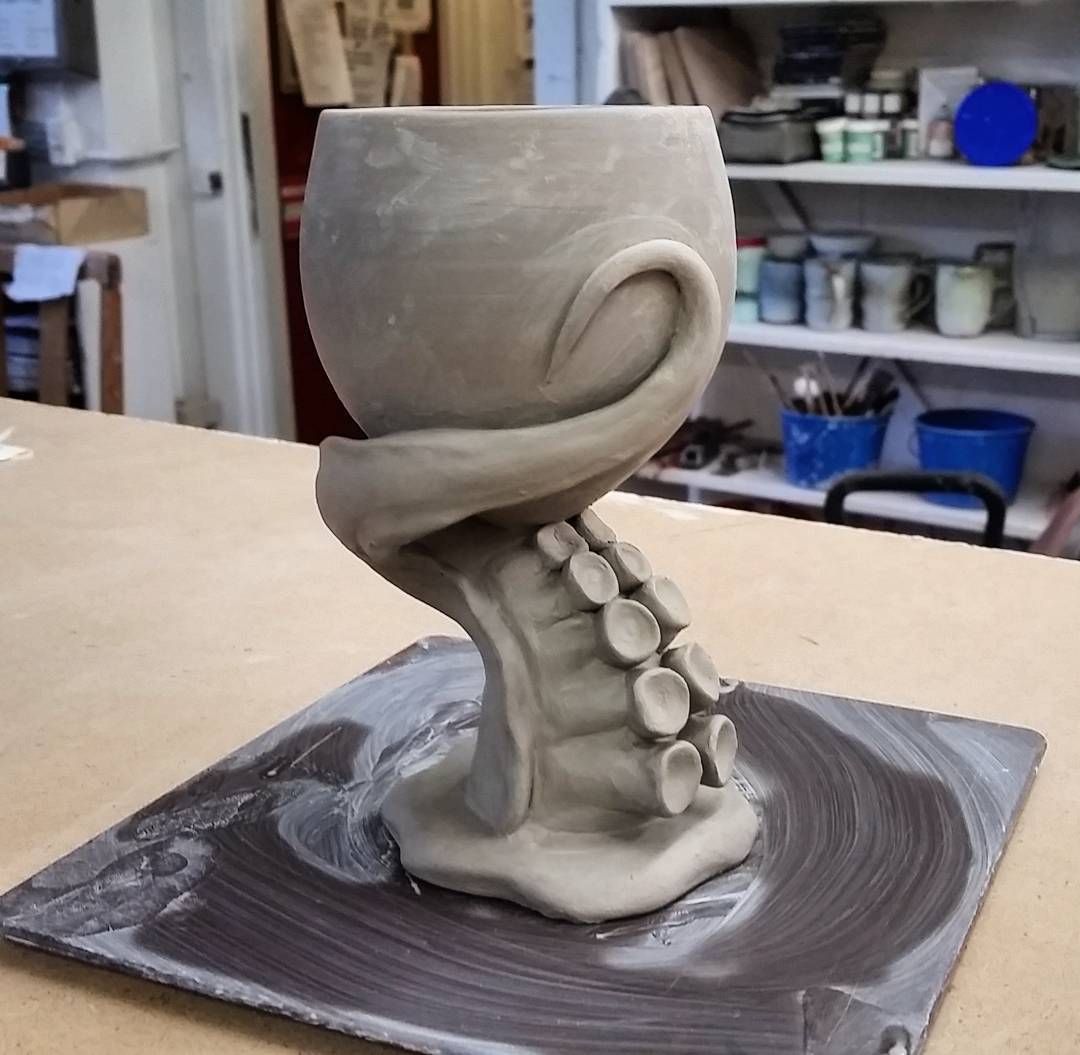
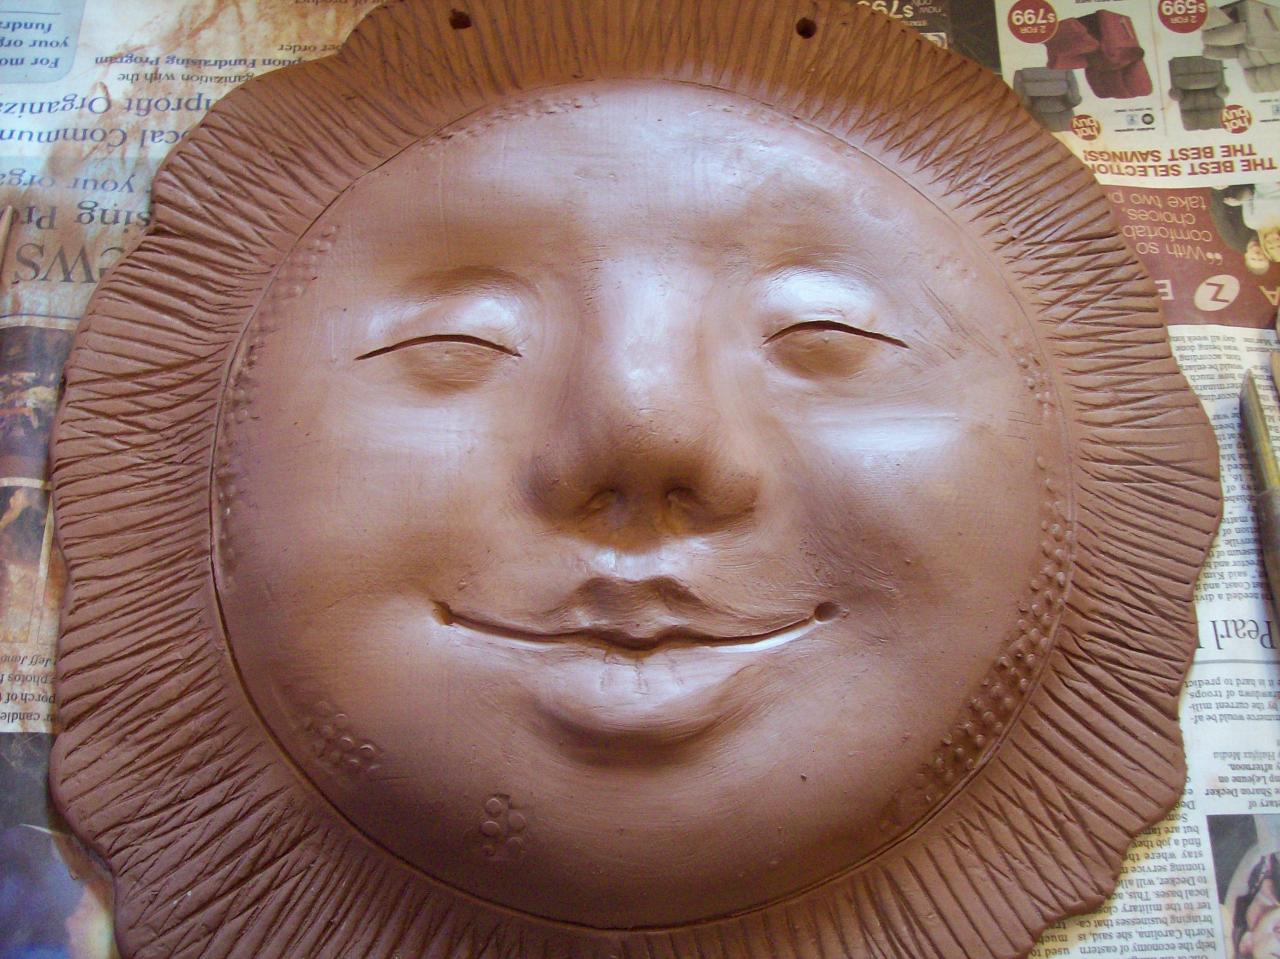
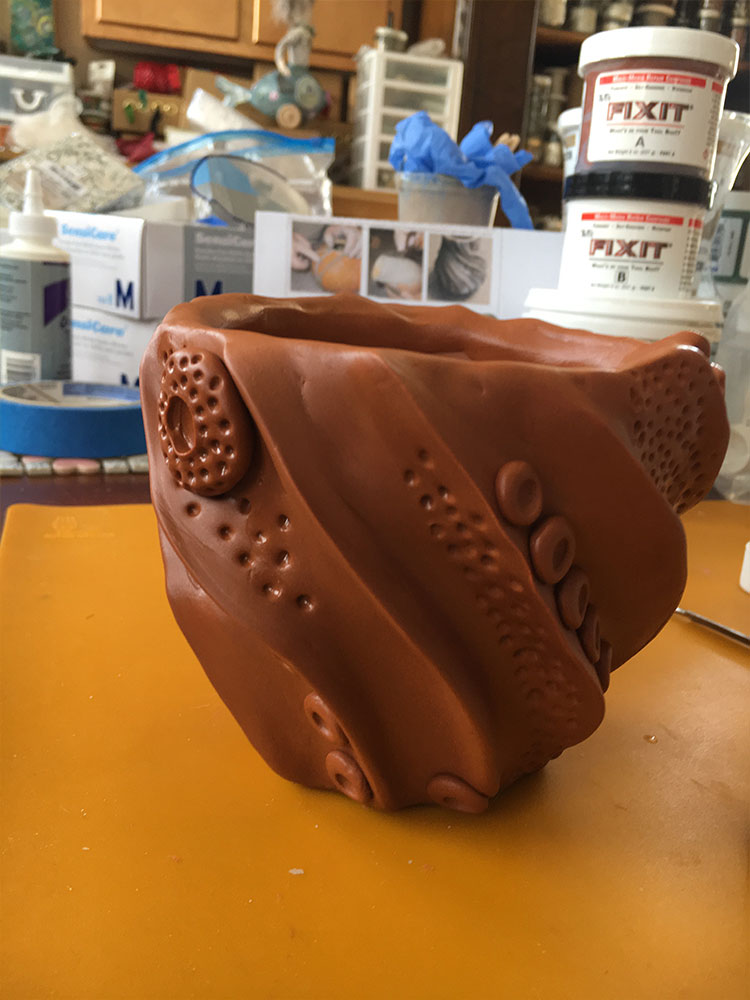
- Building Your Sculpture: Use your fingers, sculpting tools, or even your imagination to shape the clay. Add details, textures, and patterns. Remember, there are no rules in art! Just have fun and experiment!
- Smoothing and Finishing: Once you’re happy with your sculpture, smooth out any rough edges with your fingers or a wet brush. Let the clay air dry completely. This can take anywhere from 24 hours to a few days depending on the thickness of your piece.
3. Adding the Finishing Touches:
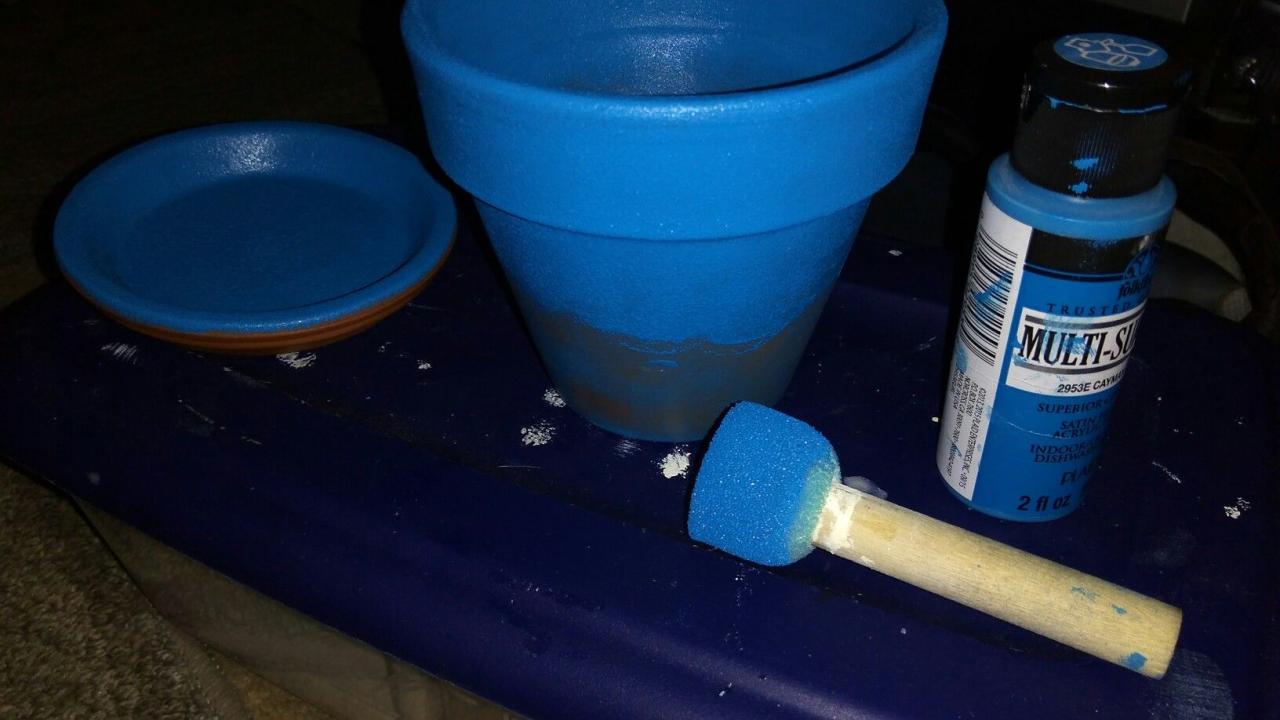
- Painting: Once your sculpture is dry, you can paint it with acrylic paints. Let your creativity shine! You can use different colors, textures, and techniques to bring your sculpture to life.
- Varnishing: To protect your sculpture and give it a beautiful shine, you can apply a clear varnish. This will also help to prevent the paint from fading.
4. The Benefits of Terracotta Clay Sculpting:
- Creativity and Imagination: Sculpting with terracotta clay is a fantastic way to express yourself and let your imagination run wild.
- Fine Motor Skills: Working with clay helps to develop fine motor skills, hand-eye coordination, and dexterity.
- Problem-Solving: As you sculpt, you’ll encounter challenges that require you to think creatively and find solutions.
- Stress Relief: The act of creating can be incredibly therapeutic and relaxing. It’s a great way to de-stress and unwind.
- Sense of Accomplishment: Seeing your finished sculpture is a rewarding experience. It’s a tangible reminder of your creativity and hard work.
5. FAQs:
- Q: How long does it take for terracotta clay to dry?
- A: It depends on the thickness of your sculpture and the humidity of the air. Generally, it can take anywhere from 24 hours to a few days for the clay to dry completely.
- Q: Can I add water to the clay once it’s started to dry?
- A: It’s best to avoid adding water to the clay once it’s started to dry. This can make the clay crack or become uneven.
- Q: What if my sculpture cracks while it’s drying?
- A: Don’t worry! Cracks can be fixed with a little bit of clay and water. Simply mix a small amount of clay with water to create a paste and use it to fill in the cracks.
- Q: Can I use terracotta clay for outdoor sculptures?
- A: Air-dry terracotta clay is not meant for outdoor use. It’s best to keep your sculptures indoors to prevent them from cracking or breaking.
- Q: What are some fun things I can sculpt with terracotta clay?
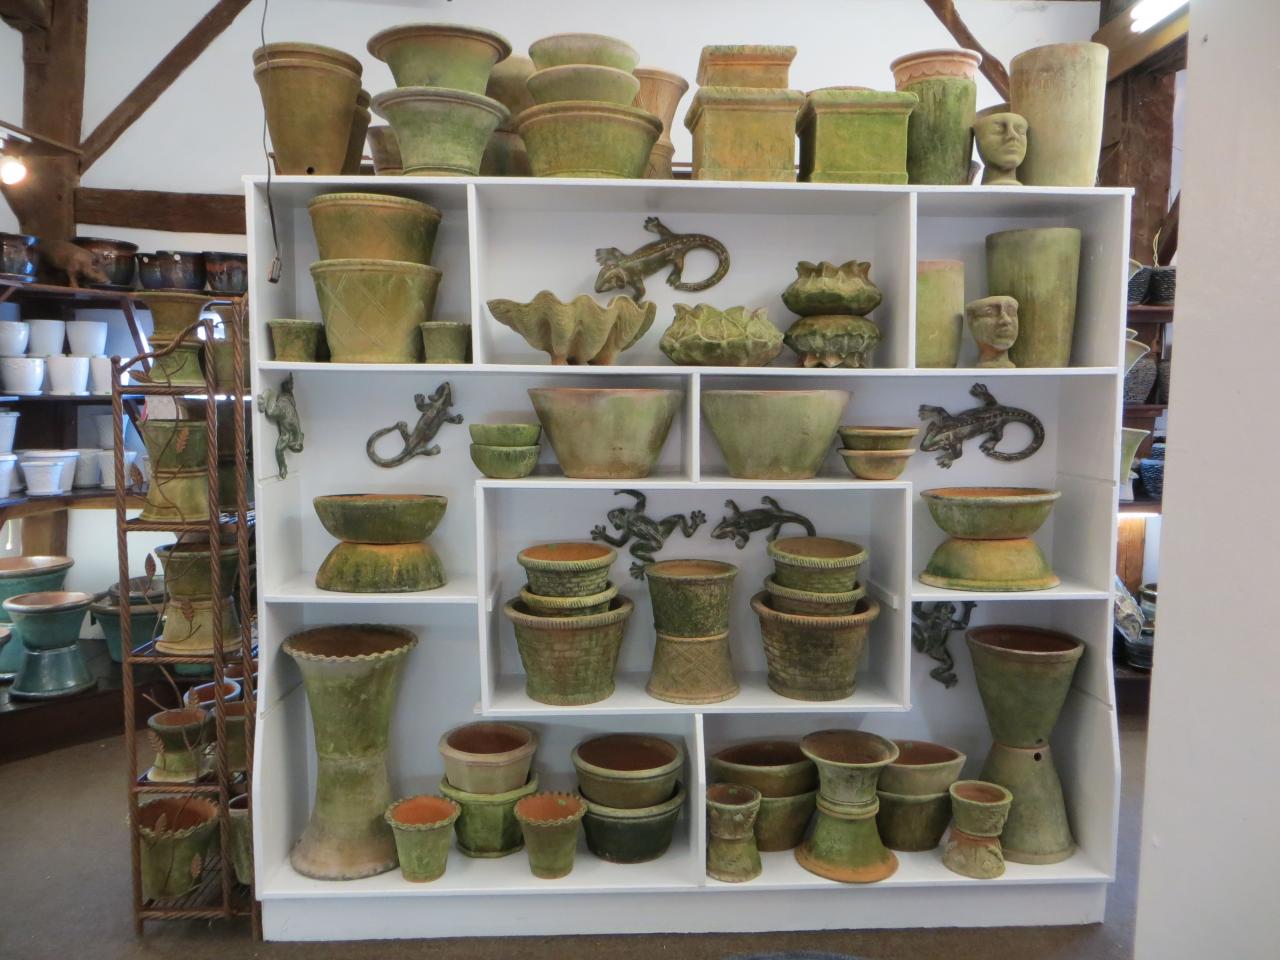
- A: The possibilities are endless! You can create animal figurines, miniature houses, decorative bowls, jewelry, or anything else that comes to mind. Let your imagination be your guide!
Remember, there’s no right or wrong way to sculpt with terracotta clay. Just have fun and explore! I’m here to support you every step of the way.
Now, tell me, what are you most excited to sculpt? What kind of creation are you dreaming of bringing to life? Let’s get started!
Thus, we hope this article has provided valuable insights into Downloads Let’s Sculpt Some Terracotta Magic!. We thank you for taking the time to read this article. See you in our next article!