With great pleasure, we will explore the intriguing topic related to Baking Air Dry Clay: A Fun and Creative Drawing Adventure!. Let’s weave interesting information and offer fresh perspectives to the readers.
Introduction
Baking Air Dry Clay: A Fun and Creative Drawing Adventure!
Hey there, young artists! Welcome to the wonderful world of drawing! Today, we’re going to embark on a special adventure using a unique medium: air dry clay.
But before we get started, tell me, have you ever worked with clay before? What kind of things do you like to draw? Knowing your experience and interests will help me tailor this lesson to your needs.
Why Draw with Air Dry Clay?
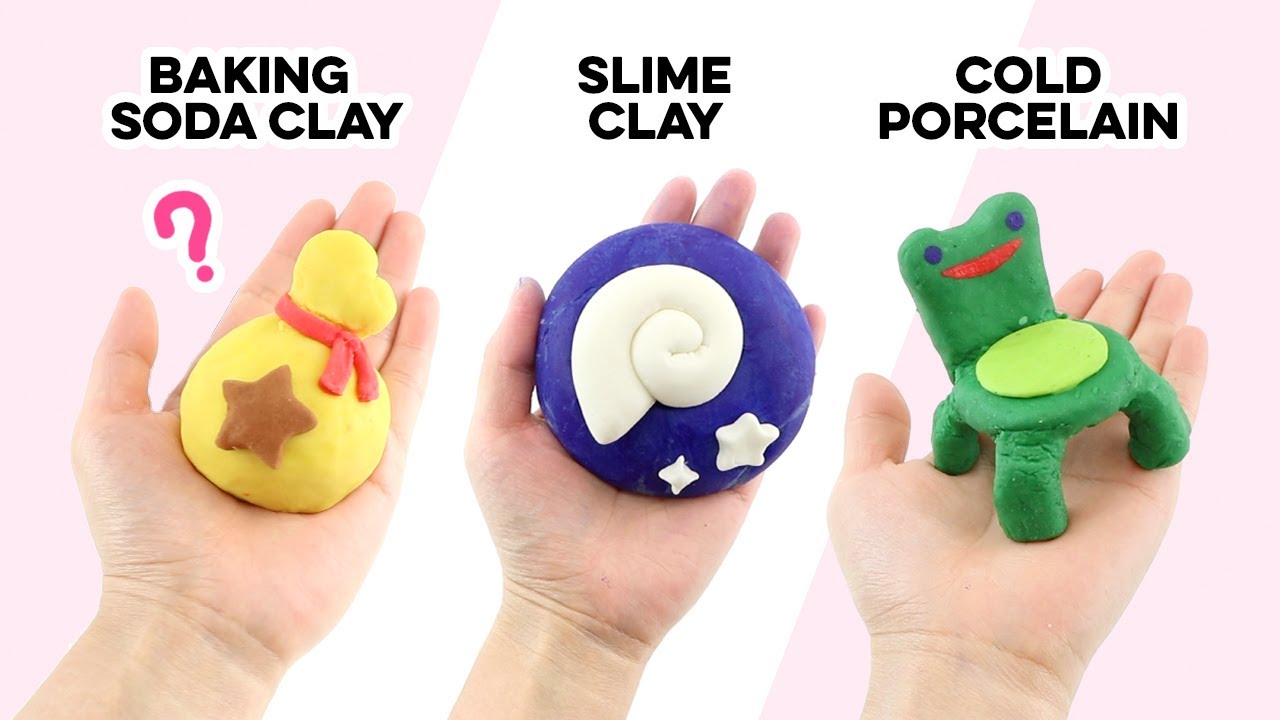
Air dry clay is like magic! It’s a soft, pliable material that you can mold and shape into any form you can imagine. The best part? It doesn’t need a kiln to harden. It air dries, making it perfect for young artists like you.
But drawing with clay isn’t just about making cool sculptures. It has a ton of benefits for your brain and creativity!
- Boosts Imagination: When you sculpt with clay, you’re using your imagination to create something new and exciting. It’s like playing with playdough, but with a whole new level of detail and expression!
- Improves Fine Motor Skills: Squeezing, rolling, and shaping clay helps strengthen your hand muscles and coordination. These skills are important for writing, drawing, and even playing musical instruments!
- Encourages Problem Solving: Sometimes, your clay creation might not turn out exactly as you planned. That’s okay! It’s a chance to learn from your mistakes and try again.
- Builds Confidence: Creating something with your own hands is a powerful feeling. It shows you that you can achieve anything you set your mind to!
Let’s Get Started!
Materials You’ll Need:
- Air dry clay (different colors are fun!)
- Rolling pin (or a smooth, round object)
- Plastic knife or sculpting tools
- Toothpicks or skewers
- A surface to work on (a tray or cutting board)
- Paper and pencil (for sketching your design)

Step 1: Sketching Your Design
Before you start sculpting, it’s a good idea to sketch out your design on paper. This will help you visualize your creation and plan out the details.
- What do you want to make? A cute animal? A funny character? A beautiful flower? Let your imagination run wild!
- Think about the shapes: What basic shapes make up your design? Circles, squares, triangles? These will be your building blocks.
- Add details: Once you have the basic shapes, start adding details like eyes, noses, mouths, or patterns.
Step 2: Shaping the Clay
Now it’s time to bring your design to life!
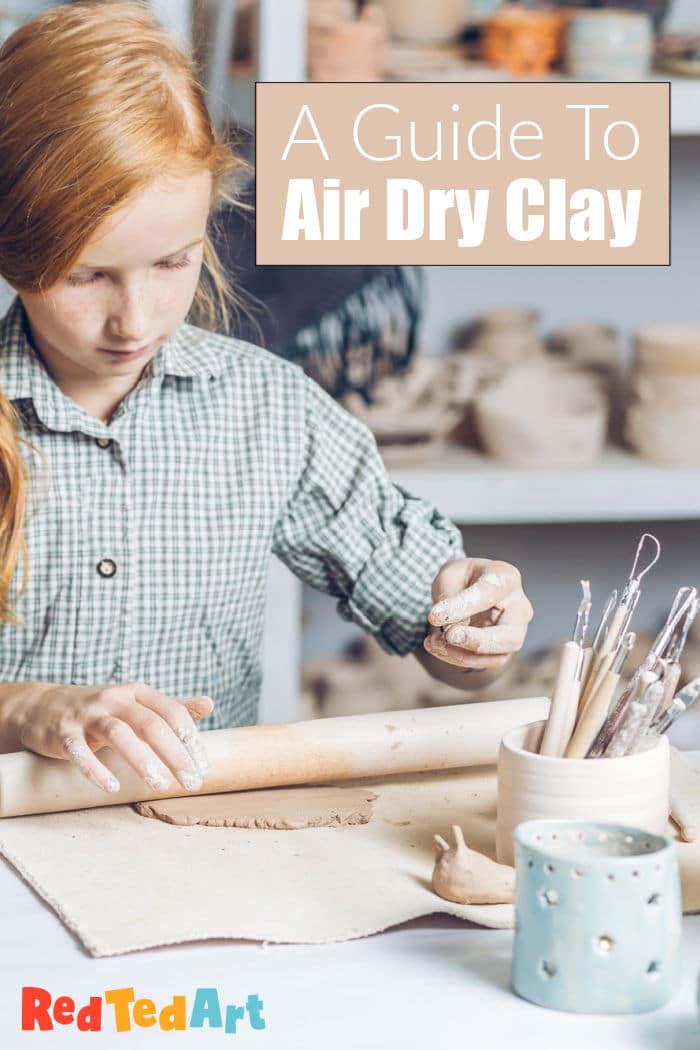
- Roll out the clay: Use your rolling pin to flatten the clay to a desired thickness.
- Cut out shapes: Use your plastic knife to cut out the shapes you sketched.
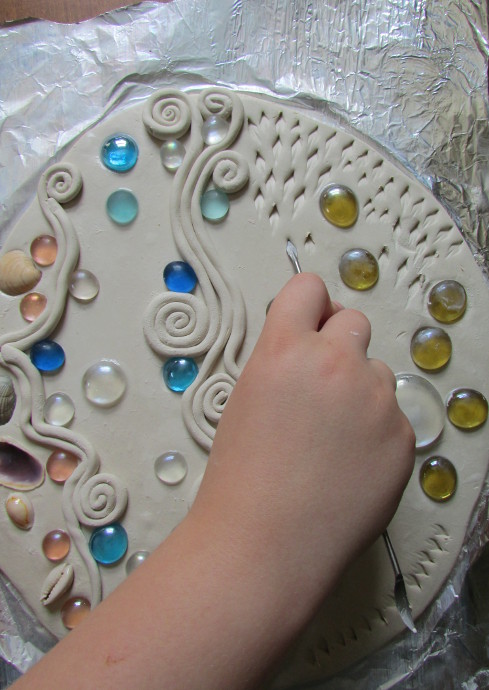
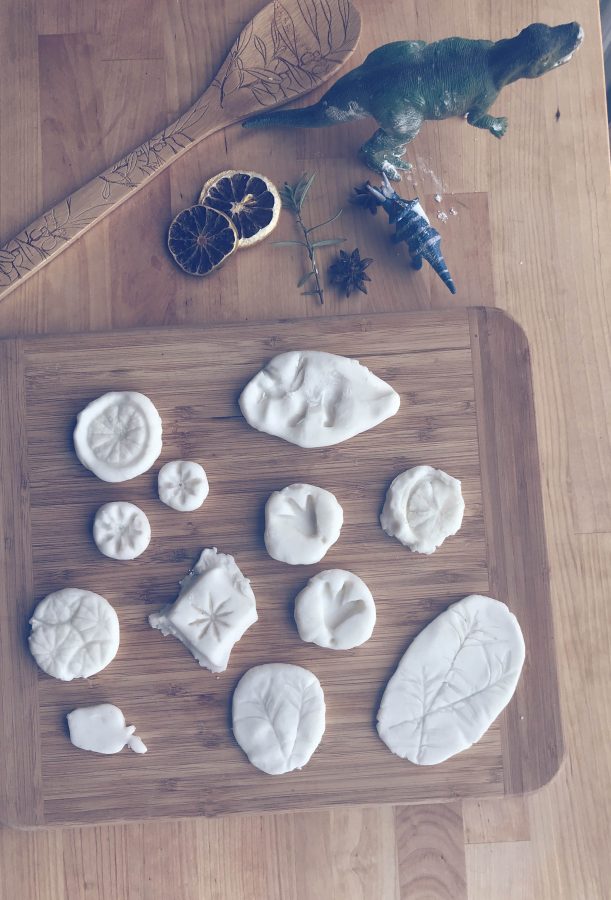
- Mold and shape: Use your fingers, sculpting tools, or toothpicks to mold and shape your clay into your desired form.
Step 3: Adding Details
Once you have the basic shape, it’s time to add the finishing touches!
- Use your tools: Toothpicks, skewers, or even a small brush can be used to add fine details like eyes, hair, or textures.
- Experiment with colors: If you’re using different colors of clay, you can mix them together to create new shades.
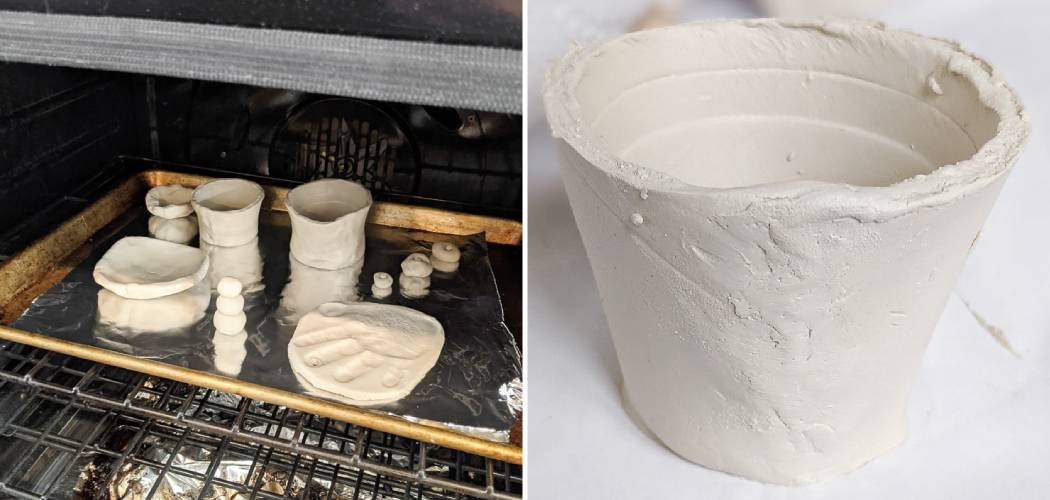
Step 4: Let It Dry
Once you’re happy with your creation, it’s time to let it dry.
- Follow the instructions: Each brand of air dry clay has its own drying time.
- Place it in a dry, well-ventilated area: Avoid direct sunlight or heat, as this can cause the clay to crack.
Step 5: Decorating
Once the clay is completely dry, you can decorate it!
- Paint it: Use acrylic paints, markers, or even colored pencils to add color and detail.
- Add embellishments: Use glitter, sequins, or other decorative materials to give your creation a unique touch.
FAQs:
- How long does it take for air dry clay to dry? This depends on the brand and thickness of the clay. Check the instructions on your clay package for specific drying times.
- What if my clay cracks? Sometimes, clay can crack if it dries too quickly. Try to avoid direct sunlight or heat and let it dry slowly. You can also use a sealant to help prevent cracking.
- Can I use air dry clay to make jewelry? Yes, you can! Just make sure the clay is completely dry before adding any jewelry findings.
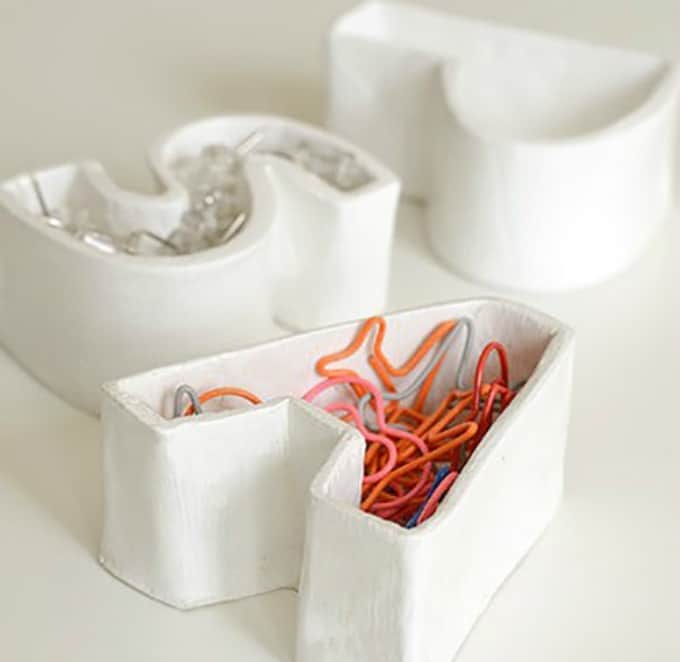
- What other things can I make with air dry clay? The possibilities are endless! You can make ornaments, magnets, figurines, and even small dishes.
- How can I make my clay creation more durable? Once the clay is dry, you can use a sealant to protect it from moisture and scratches.
Now, go forth and create! Remember, there are no rules in art. Have fun, experiment, and let your imagination soar!
And don’t forget to share your creations with me! I love seeing what young artists like you come up with.
Happy drawing!
Thus, we hope this article has provided valuable insights into Downloads Baking Air Dry Clay: A Fun and Creative Drawing Adventure!. We thank you for taking the time to read this article. See you in our next article!